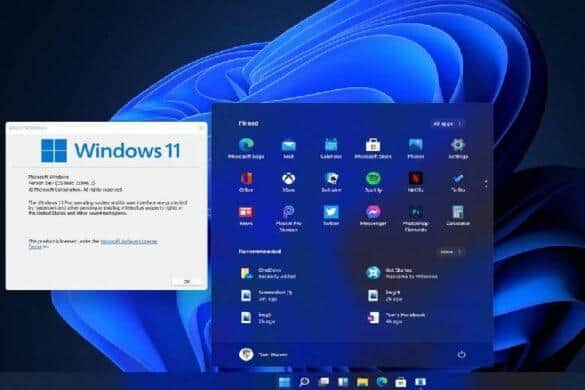
Updating Windows is a relatively straightforward process. If you have the latest version of Windows 10, you can use an ‘Installation Assistant’ to upgrade your system to Windows 11.
The tool is designed to update devices to the new version of Windows 11 when they are not automatically receiving the feature update because of problems with the Windows Update or another unknown reason, but when the hardware and software configuration is compatible. However, anyone can use the “Installation Assistant” to force (in this case) the Windows 11 Update installation.
Installation Assistant
It is always advised that the computer upgrade is avoided in the early days of rollout or till the computer receives an upgrade notification to update the Windows manually.
However, below are steps that you can do to speed up the process.
- Download the Installation Assistant from the “Windows 11 Installation Assistant” section by clicking the Download Now button from the Microsoft software support download page.
- Double-click the Windows11InstallationAssistant.exe file to launch the tool.
- Click the “Accept and install” button to begin the installation.
- Once the tool confirms the hardware and software configuration are compatible, Windows 11 will download to the computer. Then click the Restart button to complete the installation.
The entire process takes less than an hour with the help of an Installation Assistant.
Issues to lookout
Ensure your hardware is correct
If you’ve got anything on AMD’s Ryzen 1 or Intel 7th generation and below, unfortunately, you’ll have to update your system to get Windows 11.
Microsoft isn’t taking any chances with lackluster hardware giving Windows 11 a bad name like what happened with Windows Vista, so they’re effectively culling hardware from the recommended specs and preventing official installs.
Activate your TPM
You’ll also want to turn on your TPM 2.0, which either comes with your motherboard or should be built into most – if not all – CPUs as software, especially those that meet the minimum requirements.
A TPM is a security chip or piece of software that can be activated to give your system an additional level of security. It’s required to run Windows 11, as Microsoft is increasingly worried about ransomware and various attacks on their new operating system due to the complete deluge of attacks on Windows 10 systems.


